31Mar 2023
We may live in the digital age, but paper is our connection to our past.
Digital record keeping is a fairly recent phenomenon, and many government agencies and older, established firms are used to doing things the old-fashioned way – with pen, paper, folders, and filing cabinets.
Paper copies made with traditional record keeping are prone to wear and tear, fading, and damage. Physical records can be damaged by sunlight, mold and mildew, and moisture, and eventually, they will fade and be rendered unusable.
Paper is fragile and delicate, but the internet is forever. Archival digitization protects older images and documents in a way that preserves their quality and makes them easily accessible.
The problem is that conventional scanning isn’t suitable for archival digitization. Documents like engineering plans, academic papers, bound books, and other traditional print materials can be damaged during the scanning process if not handled carefully.
This post will cover what archival scanning is, and offer best practices for scanning and archiving old documents and photos.
What is Archival Scanning?
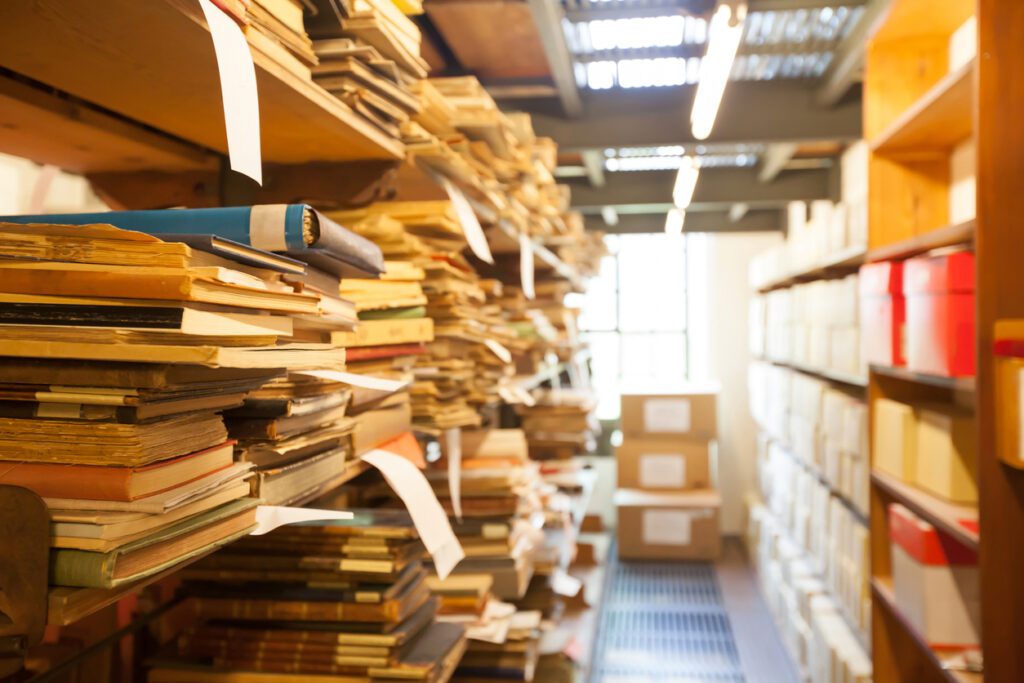
Keeping physical archives of old paper records is often a herculean task, both to store the documents and to retrieve them when needed. Digitizing the original documents is a way to preserve the information of the original documents, and make them more accessible for viewing and use.
Archival scanning (or archival document scanning) is the process of converting paper documents and images to a digital media format, to make the information useable after the originals have deteriorated.
A digital copy of the document is made using specialized equipment and stored in a server where it can be accessed and shared by anyone who needs it. Archival digitization makes use of special techniques to ensure that the digital copies preserve the integrity of the originals with the highest quality and accuracy possible.
Archival document scanning is used for documents or images that have some sort of research, cultural, legal, historical, or some other long-term value that makes them worth preserving. These older documents might be paper-based like letters or engineering blueprints, or digital files like movies or music that need to be preserved in their original format.
Documents that are commonly scanned and stored using archival scanning include:
- Government records
- Financial documents
- Legal documents
- Historical records

Is it Better to Scan or Photograph Old Documents and Photos?
The two most common ways to archive old documents and photos are scanning the documents with a flatbed scanner, or photographing them with a smartphone. Scanning old documents is generally the best option, but each method has factors to consider:
Scanning Pros
Scanning documents and photos results in much higher image quality and resolution than taking pictures with your smartphone, which is essential for older records that become grainy and worn out with time.
With archive scanning software, you can edit the image to make it as clear and true to the original as possible, capturing fine details and making an almost exact copy.
Scanning Cons
Old photos and documents are fragile and need careful handling, and as such can’t be scanned using commercial mass scanning. They need to be scanned one at a time using specialized scanners that capture the whole document. This becomes especially burdensome when you need to scan and upload whole stacks of documents.
The archival document scanning method is expensive too because it requires specialized archive scanning equipment.
Photographing Pros
The main advantage of photographing old documents and photos is that it’s faster and more convenient. All it requires is a quick snapshot with a smartphone camera and a document can be uploaded to a cloud storage service and archived in seconds.
Photographing Cons
With that added convenience and speed comes a depreciation of image quality. Smartphone cameras don’t capture the little details as accurately as archive scanners. It’s also difficult to get a good photo if the lighting is off if the document is oversized, or if the layout is complex.
Archive scanning is the way to go for high-quality, accurate copies of your records while photographing them is a good option if you just need a quick and easy way to capture the documents before the originals are stored or disposed of.
Best Practices for Scanning and Archiving Old Photos and Documents
Paper and handwritten manuscripts have a lot of special considerations in archival scanning that prevent them from being fed through a typical scanner, such as:
- Tears or Holes in Document: Holes or tears in the document need a black background to make them visible
- Onionskin or Thermal Fax Paper: These need to have a white sheet of paper to provide a proper contrast along the edges
- Bound Books and Pamphlets: The non-removable bindings of books and manuscripts like diaries, catalogues, and ledgers can cause them to curl or interfere with the scanning process
Plan and Organize
First, create a plan for the digitization process before you start scanning or photographing anything. Why do these documents need to be archived, and for what purpose? What types of items do you need to digitize and store, and how many? Many industries that use archive document scanning like manufacturing companies, government agencies, and museums need to scan things like:
- Loose-leaf pages
- Bound books
- Print photographs
- Newspapers
- Engineering diagrams
This is also when you’ll want to decide on a naming convention for your digital files. A common way to name archived files is in the format:
- Folder Name: DATE_OF_PROJECT
- Sub-Folder: IMAGES, VIDEO, etc.
Choose Storage and Document Management Options
Keep any scanned materials in acid-free, archive-grade boxes where they can be kept safely out of harm’s way. Any papers or documents that have been exposed to mold or mildew should be kept away from others to prevent contamination. Any containers or storage units should be climate-controlled and kept at 20-21 degrees celsius.
The workspace itself needs to be spotless and impeccably clean. Any surfaces the documents touch need to be free of dirt, dust, and other contaminants.
Consider using a professional archivist or a specialized document scanning service trained in scanning and archiving fragile or important documents.
Choose the Right Image Size and Resolution
The Canadian Museum of Civilization Corporation (CMCC) offers its own digitization best practices on how to make a scanned document clearer.
The main file formats used by the CMCC are:
- TIFF: The master file, and the archived version of the final image
- JPEG: The digital copies, used for distribution, and to identify the catalog record
Color images should be scanned in at least 24 dpi, ideally 48 dpi. Black-and-white images should be scanned with 16-bit greyscale dpi.
As for image sizing and dimensions:
- Text and photographic documents should be saved at ___x768 pixels
- Documents with small characters should be saved at ___x1130 pixels
- JPEG files should be saved at 72 PPI, with a lower compression level (level 12)
Where (__) is left open to account for variations in size.
Scanned, Saved, Stored, Secured
Scanning and archiving help future generations have access to important documents long after the originals have been rendered unusable over time.
To recap, here are some archival scanning standards to keep in mind when archiving and scanning:
- Plan your digitization project, what you’ll name the files, and where you’ll keep the originals
- Scan master images at 48dpi, 16bit at greyscale
- Save files in JPEG or TIFF format
DOCUDavit has a specialized document scanning service for engineering firms, manufacturing companies, and government agencies who wish to protect their valuable documents. Visit our services page to learn more.